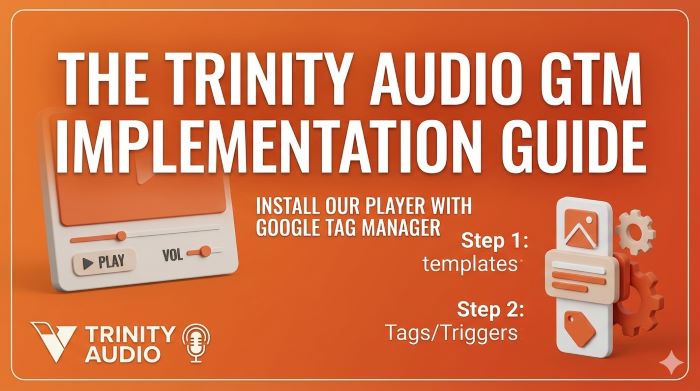
Introduction
Thank you for taking an interest in Trinity Audio. In this manual, we’ll walk you through how to install our player using Google Tag Manager on your website. If any questions arise, don’t hesitate to reach out to our team at support@trinityaudio.ai and we’ll make sure to help out.
Installation
This manual would guide you on how to integrate the Trinity Audio player using Google Tag Manager.
Please note that Google Tag Manager might cause delays with the player load time and affect engagement metrics with the player. In such cases, we recommend integrating using our standard JS script.
Step 1 - Add template
To use this template in your workspace, follow this steps:
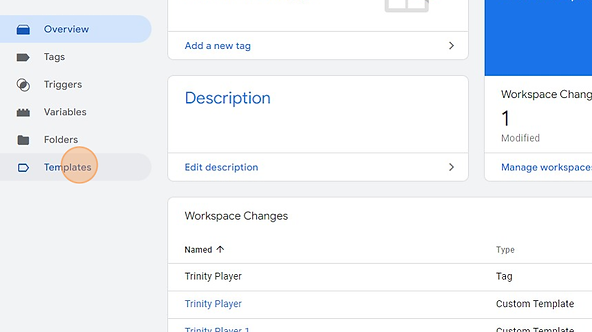
- Open Tag Manager
- Click "Templates"
The 'Community Template Gallery' is accessed within the Google Tag Manager interface, showing options for importing tag templates like consent managers and pixel scripts.
Open Tag Manager
Click "Templates"
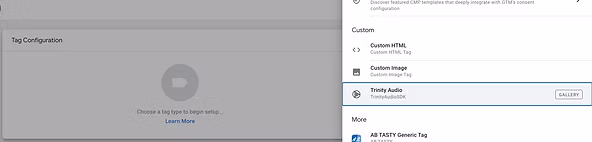
- Click "Search Gallery"

Click "Search Gallery"
- Click "Add filter text"
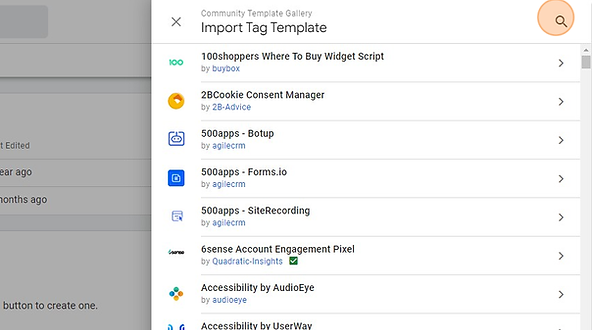
Click "Add filter text"
- Type "Trinity Audio"
- Select "Trinity Audio" template

Type "Trinity Audio"
Select "Trinity Audio" template
- Click "Add to workspace"
Click "Add to workspace"

- Click "Add"
Click "Add"
In case you are unable to find the template, follow this steps:
- Download the Trinity Audio template from our dashboard or from ourGitHub Repository
- Log in to Google Tag Manager or create an account if you don’t have one already
- Select a Container you want to deploy the tag to
- Visit the “Templates” section and click “New”
Download the Trinity Audio template from our dashboard or from our GitHub Repository
Log in to Google Tag Manager or create an account if you don’t have one already
Select a Container you want to deploy the tag to
Visit the “Templates” section and click “New”
- Click on the 3 dots menu
- Click "Import"
- Select the template you have downloaded
- Click "Save" and exit the Template Editor
Click on the 3 dots menu
Click "Import"
Select the template you have downloaded
Click "Save" and exit the Template Editor
Step 2 - adding a new tag
- In the left side menu, click on "Tags" and then "New"
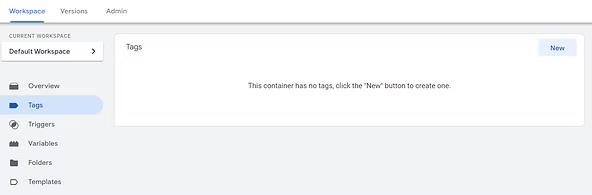
In the left side menu, click on "Tags" and then "New"
- Click on the "Tag Configuration" block and select the “Trinity Player” tag.
Click on the "Tag Configuration" block and select the “Trinity Player” tag.
- Get the player ID from the Trinity Audio dashboard and insert it into the "Unit ID".
- Insert the CSS selector indicating where you wish for the player to be located. If you are not sure, you can leave it as “h1” and ask our support for help.
- Choose if you want the player to show above or below the selected location. If you are not sure, leave it as “below” and ask our support for help.
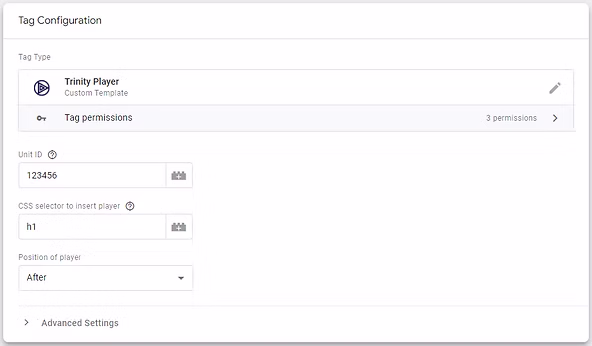
Get the player ID from the Trinity Audio dashboard and insert it into the "Unit ID".
Insert the CSS selector indicating where you wish for the player to be located. If you are not sure, you can leave it as “h1” and ask our support for help.
Choose if you want the player to show above or below the selected location. If you are not sure, leave it as “below” and ask our support for help.
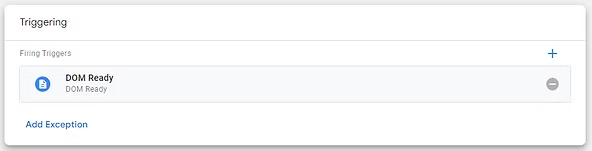
- Choose a trigger to render the tag on all relevant pages (article pages) based on “Page view - DOM ready” trigger type.
- When finished, click “Save” and then test/ publish the changes.
- Go to the "Trinity Audio" dashboard, find the relevant player and click “Verify” to let us know you have implemented it. We’ll QA it and make sure it is implemented correctly, and enable it to be visible.The verification process checks that the player was indeed added to your pages based on our internal data. If the process fails, open one of the pages the player should load on, wait a few minutes and try again
- The verification process checks that the player was indeed added to your pages based on our internal data. If the process fails, open one of the pages the player should load on, wait a few minutes and try again
Choose a trigger to render the tag on all relevant pages (article pages) based on “Page view - DOM ready” trigger type.
When finished, click “Save” and then test/ publish the changes.
Go to the "Trinity Audio" dashboard, find the relevant player and click “Verify” to let us know you have implemented it. We’ll QA it and make sure it is implemented correctly, and enable it to be visible.
- The verification process checks that the player was indeed added to your pages based on our internal data. If the process fails, open one of the pages the player should load on, wait a few minutes and try again
The verification process checks that the player was indeed added to your pages based on our internal data. If the process fails, open one of the pages the player should load on, wait a few minutes and try again
Summing things up
In case you have any further questions, don’t hesitate to reach out to us directly via support@trinityaudio.ai, we would be happy to hear from you (pun intended).
Happy listening from all of us at Trinity Audio